How to Connect a Blue Yeti to a Yamaha Ag03 Mixer
Improve Your Virtual Setup — Sound
In the explosion of virtual conferences and meetings, here's what you should do to optimize your audio
Have you ever jumped into a call or online talk and said "Wow! That voice is so clear! You sound like you're in a studio."

Now flip it
Have you ever sworn that you just had a call with someone whose acoustic setup is like a racquetball court with a background band?
🎸🎵🎹🎷🎺‼⁉
With a little bit of investigative time and effort, we can get your virtual presence kicked into high gear, so that every time you connect, it's with quality. You might not know what to look for, but with these tips, we can find the features that boost your virtual self from a string-can to vocal brand.
Overview
The sound quality of your online talk or meeting seems like one of those rabbit holes you could find yourself financially regretting. Like those audiophiles who own $500 headphones but can't seem to sing the right notes to any songs, there's a point of diminishing returns.
While it's true that the upper echelon of audio quality is as argued as fine wines, there's also a significant quality gap between most people's sound and quality sound. Abandon the defaults!
In this post we're going to cover three key aspects of improving your sound:
- Microphones
- Sound dampening
- Software noise removal
1. Microphones 🎙
Default microphones are improving drastically, and they still suck. If your microphone is hanging on a wire between your computer and your ear, you need to upgrade.
Level 1: USB Microphones
A USB microphone gets you 80% of the way there. Some of the most popular podcasting microphones out there are friendly and useful. For this I recommend the Blue Yeti microphone.
Since 2009, millions of musicians, podcasters, YouTubers and game streamers worldwide have used Yeti to raise their voices, share their stories and create amazing content.
This USB microphone jumps you ahead of the pack with a single purchase. With a price tag at $130, this microphone requires a small but effective investment towards sound excellence.
Features worth discussing:
Ease: You can simply plug this USB microphone into your computer and get started. No training or complicated setup needed.
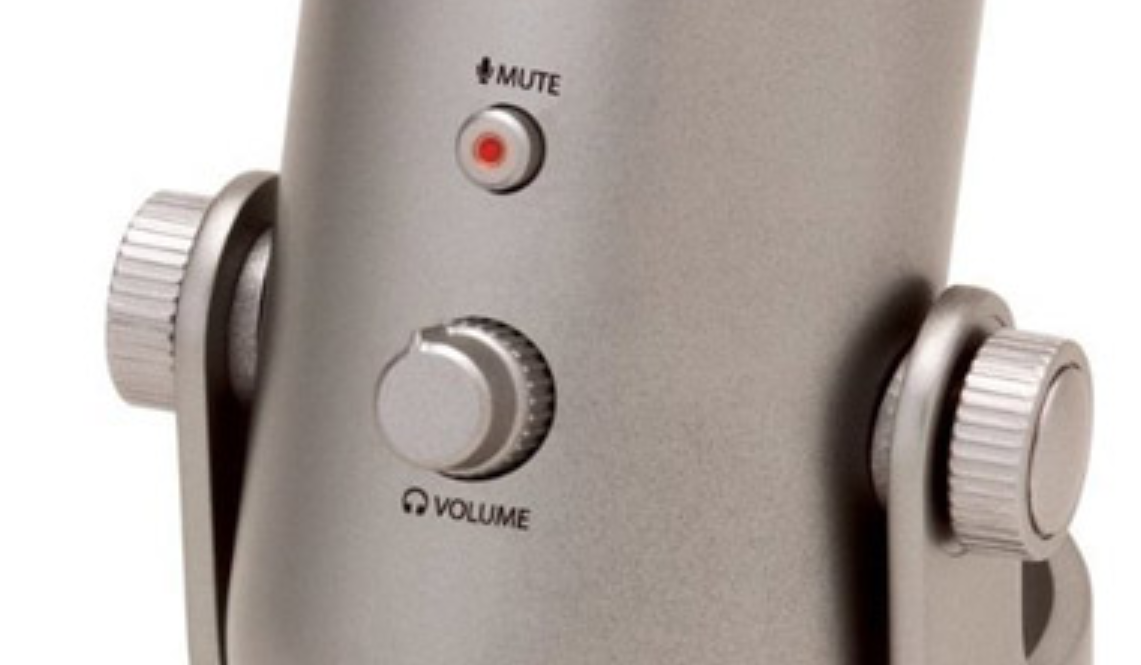
Headphone Monitor Channel: When you plug your headphones into the bottom of the microphone, you can hear everything the microphone hears. This helps you catch background noise, heavy breathing, and how far away the microphone should be.
Mute/Cough Button: Countless times while recording or chatting, you might need to quickly mute. While there are countless ways to do this with apps, it's kind of nice to have a physical button right in front of you.
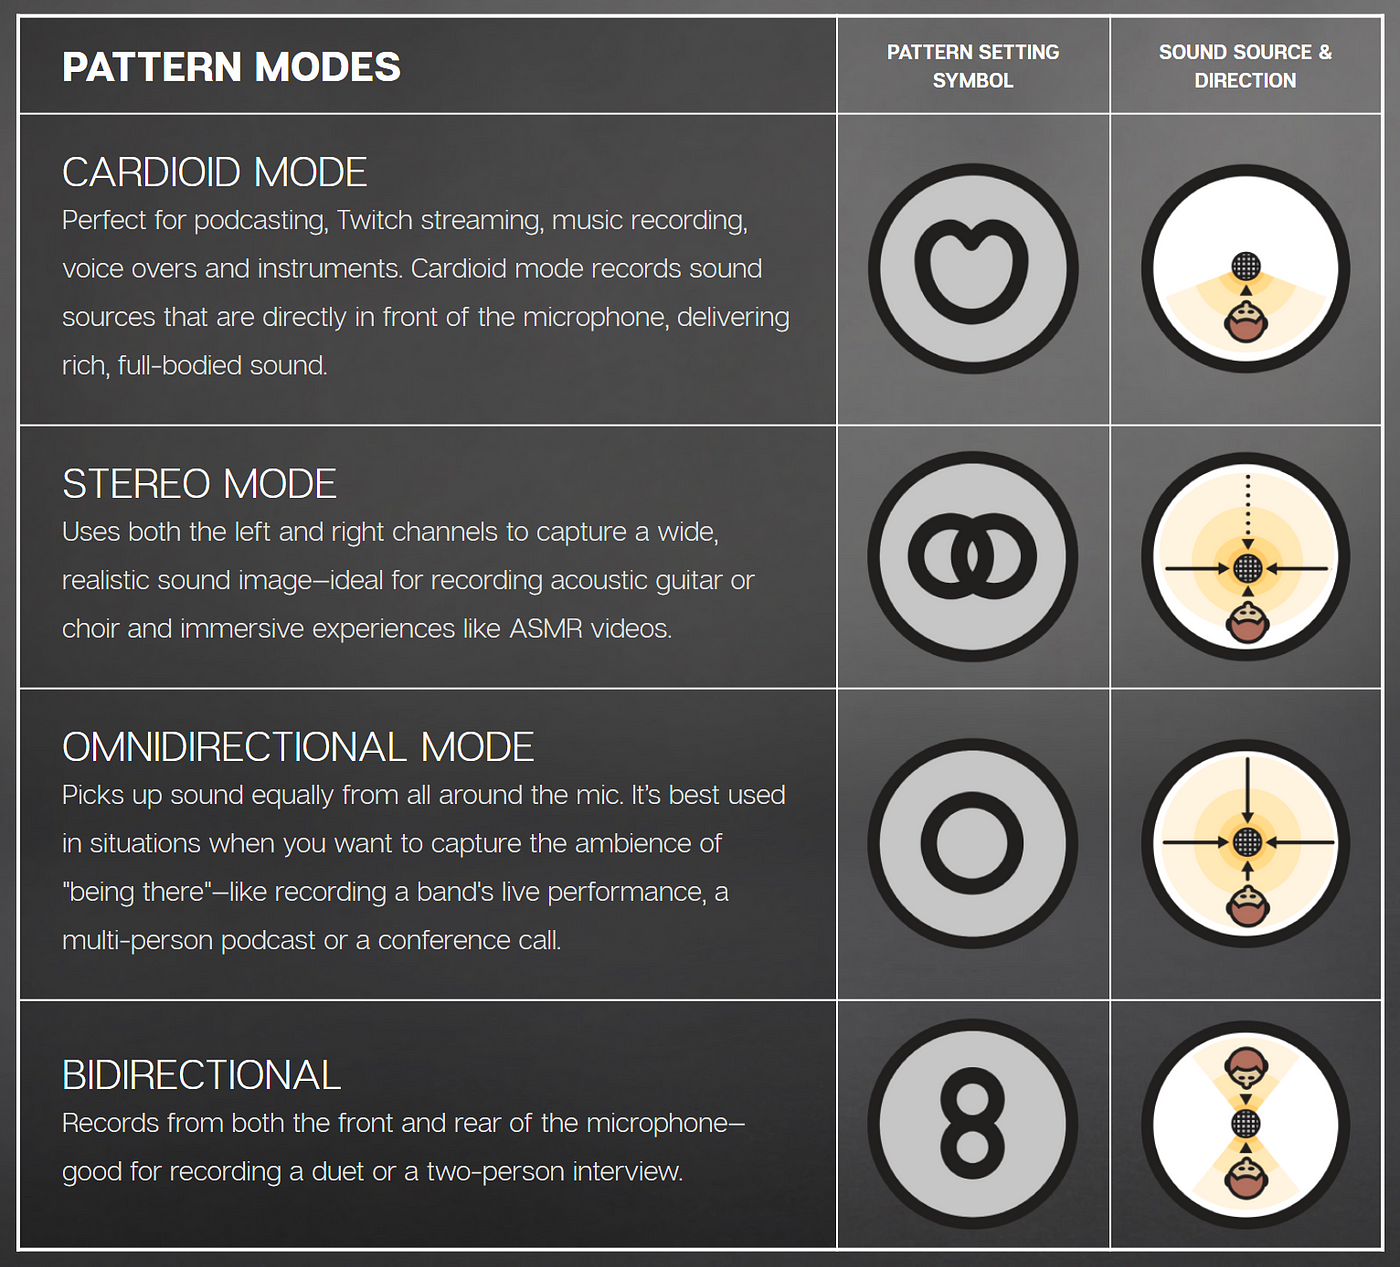
Cardioid Pattern Mode: Some microphones, like shotgun microphones, are meant to pickup sound from a specific direction, while others pick up all the sound in the room. This microphone has lots of cool patterns you can set that will help you block out any annoying background noise or reverb. Setting your device to cardioid pattern, means your device is listening to you alone!
I'd say my biggest problem with the Blue Yeti, is that it is too dynamic. It's a condenser mic (don't worry if this means nothing to you), and it's great for all those pattern modes listed above. Which means if you're looking for presentation ONLY, you've got quite a few ways to shoot yourself in the foot if you misconfigure your setup.
With this USB microphone you have excellent sound quality, headphones plug to hear yourself, a mute/cough button, and cardioid pattern mode to block out echo. You don't have to use the Blue Yeti, but that's the one I commonly recommend for starters. It's worth researching what the top USB microphones are year after year!
Level X: Studio Microphones
If you hate the sound of your own voice, or if you're heavily invested in your audio quality, it's worth getting a microphone that lets you take a step beyond everyone else. You can buy a microphone that is specific to really capture the body of your voice. Dynamic voice-specific microphones are used in recording studios around the world to focus on your speech and protect your audience from those popping plosives. You've probably seen professional microphones don't have USB because they connect with XLR cables.
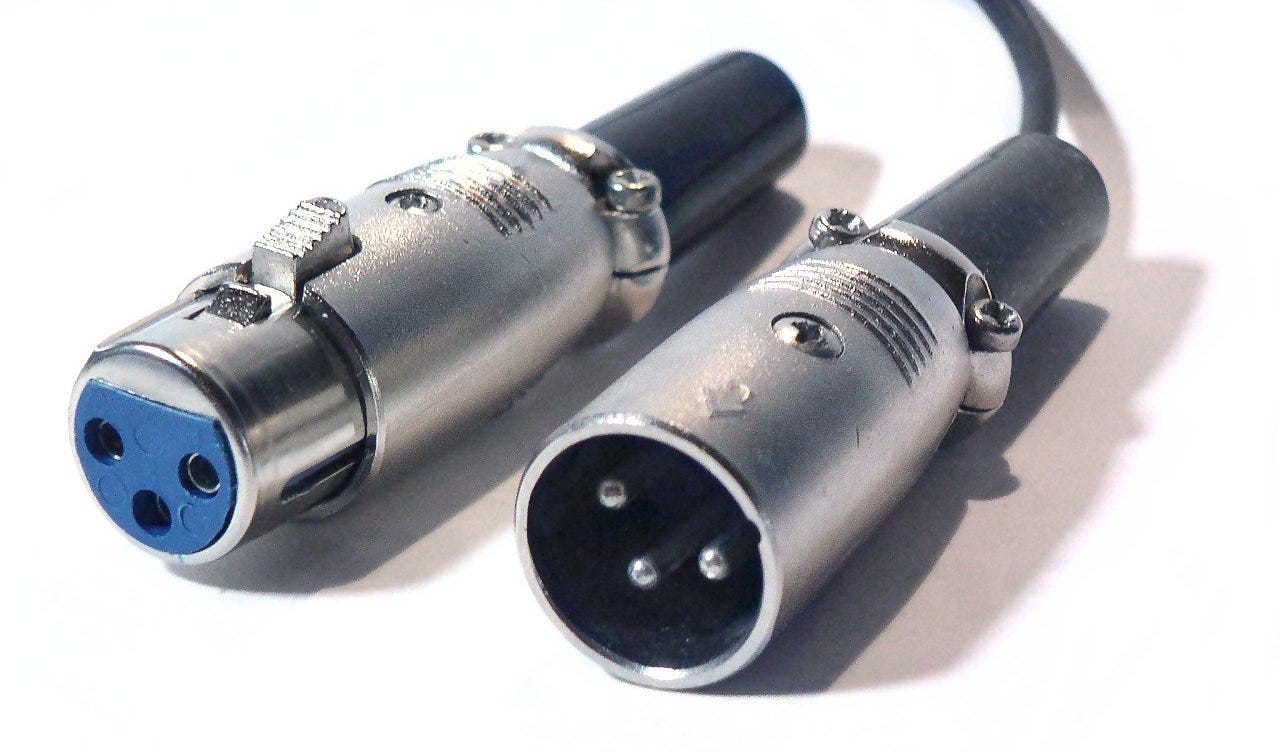
At first glance, you might believe "I need an XLR to USB converter" and while you can grab one of those, you're not getting the benefit of your fancy new microphone.
These high-quality microphones are analog and need to be mixed back down using a DAC (digital to analog converter). Yes, "Hey that's analog to digital!" But the DAC translates both ways. These high-quality DACs can process and lower "jitter" which humans can hear and care about, as well as audible band filtering. A nice DAC lets you get hifi audio from your hifi microphones.
PRICE TAG ALERT! 📈💸
A high-quality microphone with noticeable quality above a Blue Yeti, runs $250 USD and up, and requires that you ALSO buy a decent DAC ~$150 USD. If you're serious about your virtual presence, this is a fantastic, but significant uptick in investment!
If you're wondering what DAC/Mic to buy, there are lots of great videos out there on youtube, however, if you're just looking to be told what would be a good buy, I use a Electro Voice RE 320 with a Yamaha AG03 USB Mixer/DAC. Grand total around $500, and it's been worth every penny.
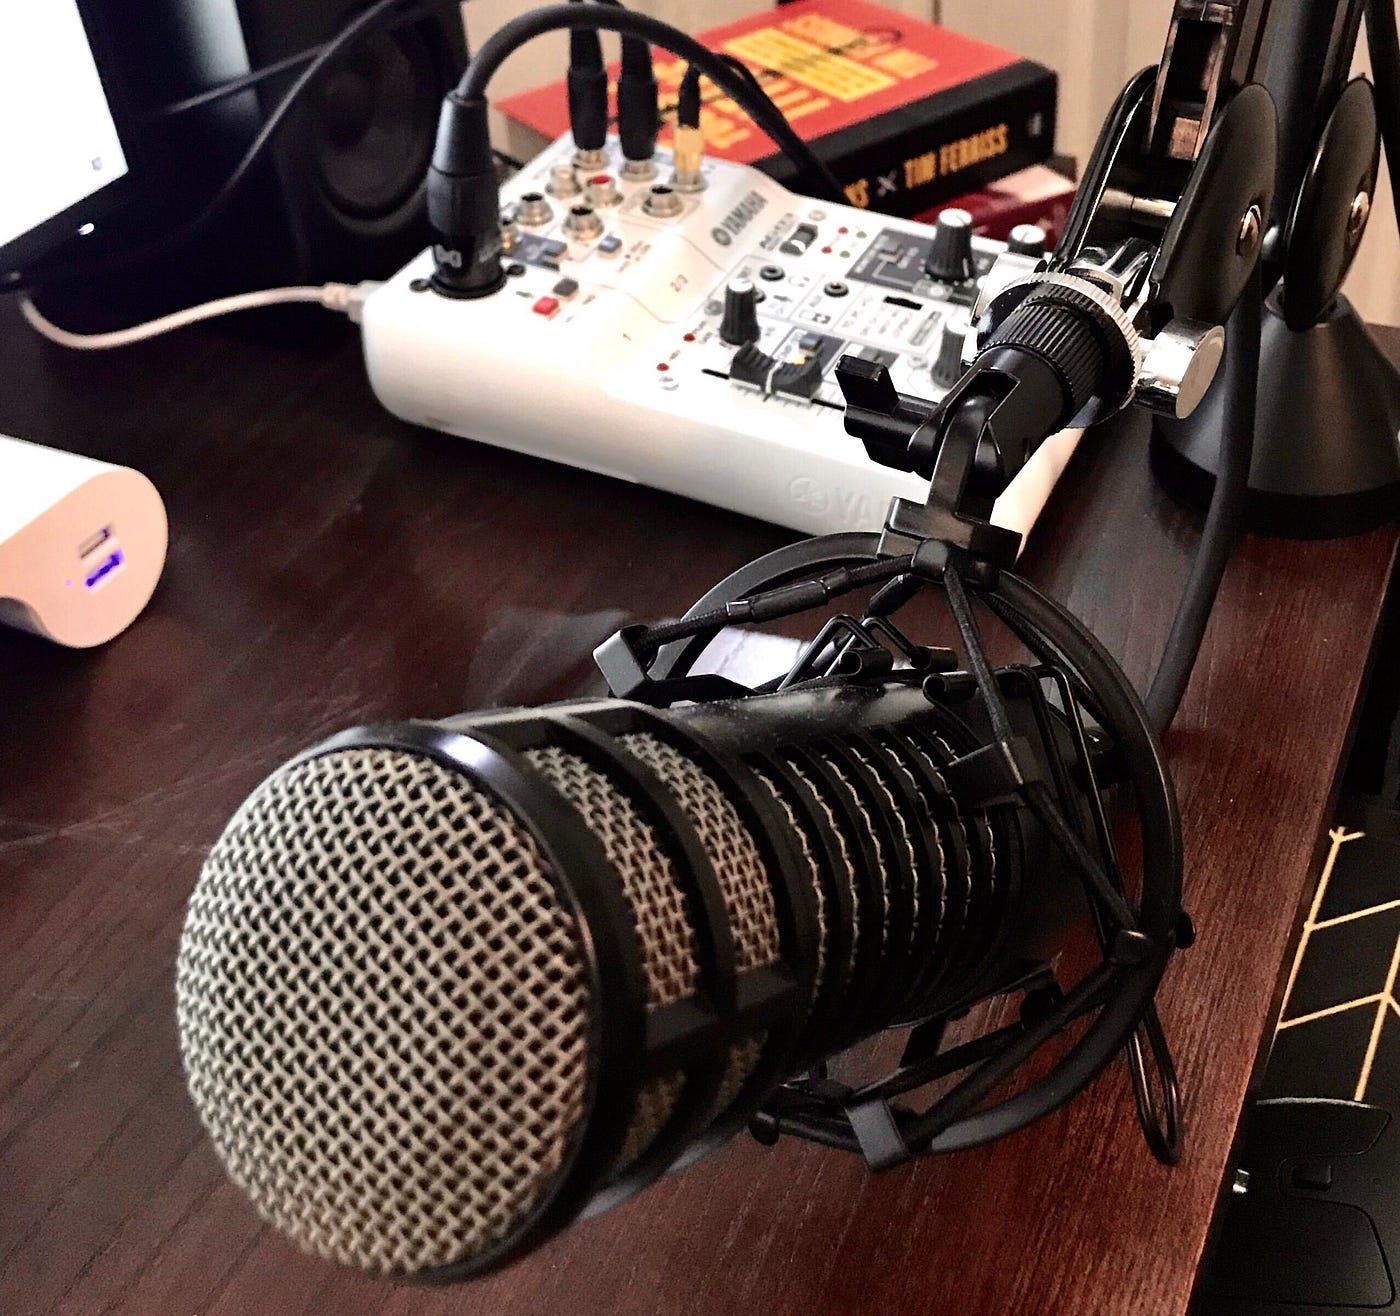
I'll leave the microphone work here for now, but if you'd like to know how to work your DAC and benefits, it can do everything you had with the Blue Yeti and plenty more! Tweet at me or Todd Werth for more info. A USB mic gets you 80% of the way there, but the last 20% takes exponential time and money. Fortunately, you can slowly creep towards an expensive studio part by part.
2. Sound Dampening
You may need sound dampening. Experiment with distance of mic from mouth to minimize echo concerns, but almost all presenters I'm seeing in these virtual confs are transmitting their audio bouncing around the room.
It's hard to keep a constant distance for any real conversation, and so, you'll need to dampen the room. If you can hear the room, you're not sending quality audio. Some presenters even have fans, outside vehicles, and low droning HVACs competing with their audio.
Echo/Reverb "Hearing the room"
Here's something you probably never thought about: Echo is specific to where you're standing — two people in the same room can perceive a different echo!
To identify if you need sound dampening, place your ear next to the microphone (or hear what the microphone is hearing with headphones), and snap your fingers. If it's short/crisp you're good, but every microsecond beyond that is exponentially terrible for your audio.
Outside Sounds
That air purifier you're running in your office has been something you've tuned out for years, but every time you speak on that online panel, it's being heard for the first time by everyone. Sound dampening helps you diffuse and block unexpected exterior sounds, and if you're lucky vanquish them completely.
If it's really bad
It's time to make a decision. Is your office/place of presenting going to look like a cool office? Or is it going to transmit excellent sound? Are you willing to put up some ugly sound-dampening panels (not in view of your camera, but in your own personal view)? If you've got hardwood floors and a terrible echo/background noise, it's time to seriously consider adding significant noise dampening panels.
Here's mine!
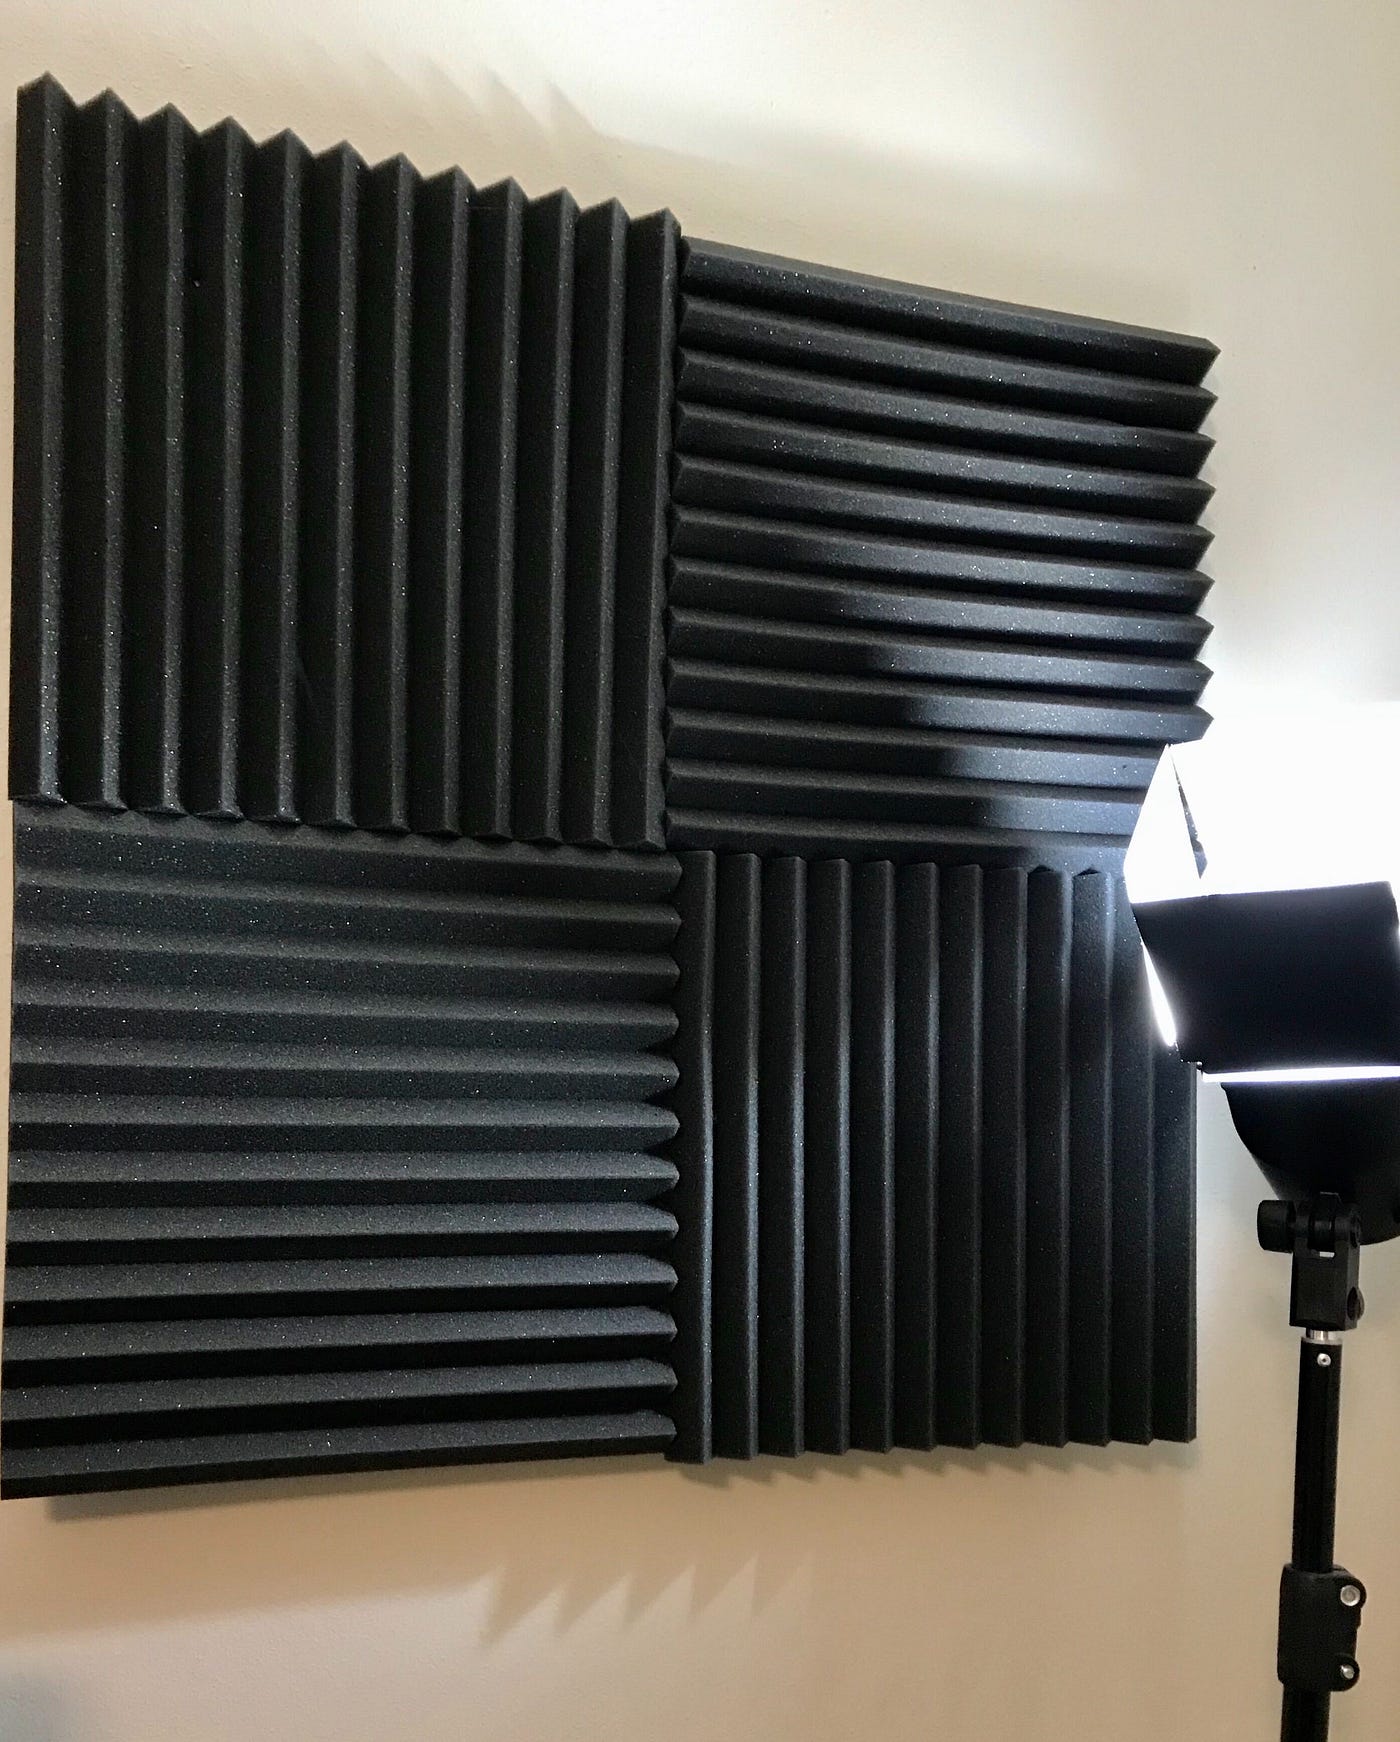
But if you care a lot about your off-camera office look, you can spend hundreds of dollars to be fancy, too. Dampening panels don't have to be ugly.

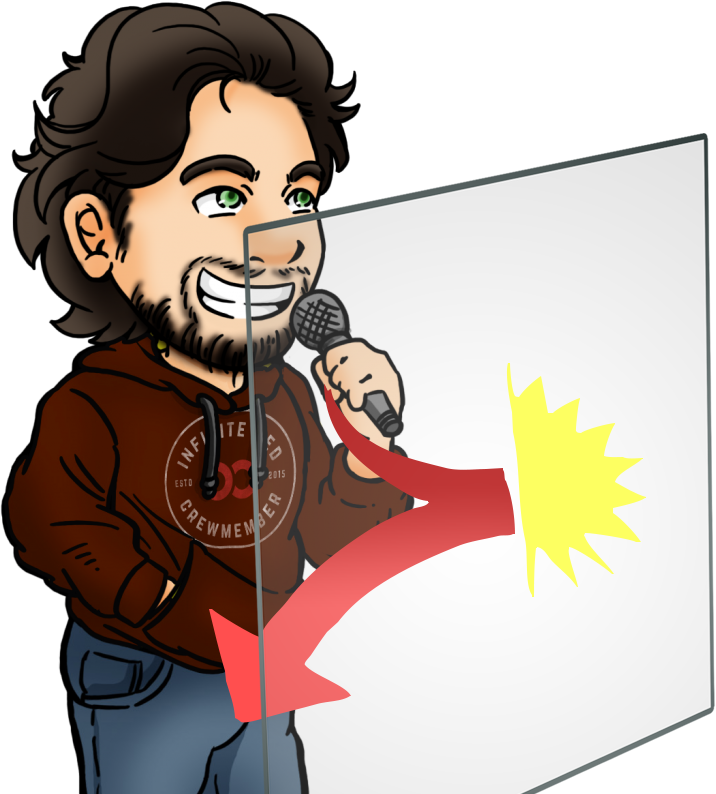
The more you can bounce and absorb sounds, the better. However! There are strategic locations you should consider. If you're speaking to a flat wall, that's probably your biggest culprit!
The Bad News:
Flat surfaces in the cone of your vocal projection are worse than what's behind and on the side of you. Yes, this includes your monitor.
The Good News:
This means that adding noise cancelling to your wall and your microphone can generally be 100% out of view of your webcam!
Place your noise dampeners facing you, so they can absorb your speech before it bounces around the room.
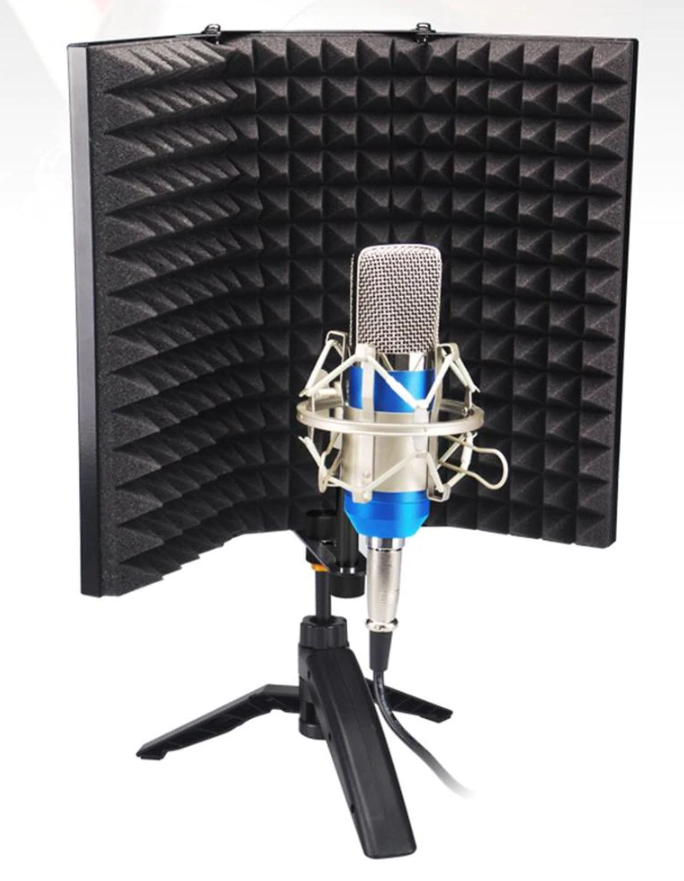
If you're doing voice-over work, it's kind of nice to pull out a folding isolation shield to really dampen the most dangerous part of your voice projected cone. Some people who do their meetings with a shotgun microphone can keep one of these shields above your camera and appear hands free all the time! So fancy!
Voice-over work is it's own beast. I've seen people speak directly into a closet filled with clothes, and even construct their own mini-sound-booth from a cardboard box and a cut out visor to read the screen.
Yes, some people get creative and silly to record perfect voice in bad rooms.

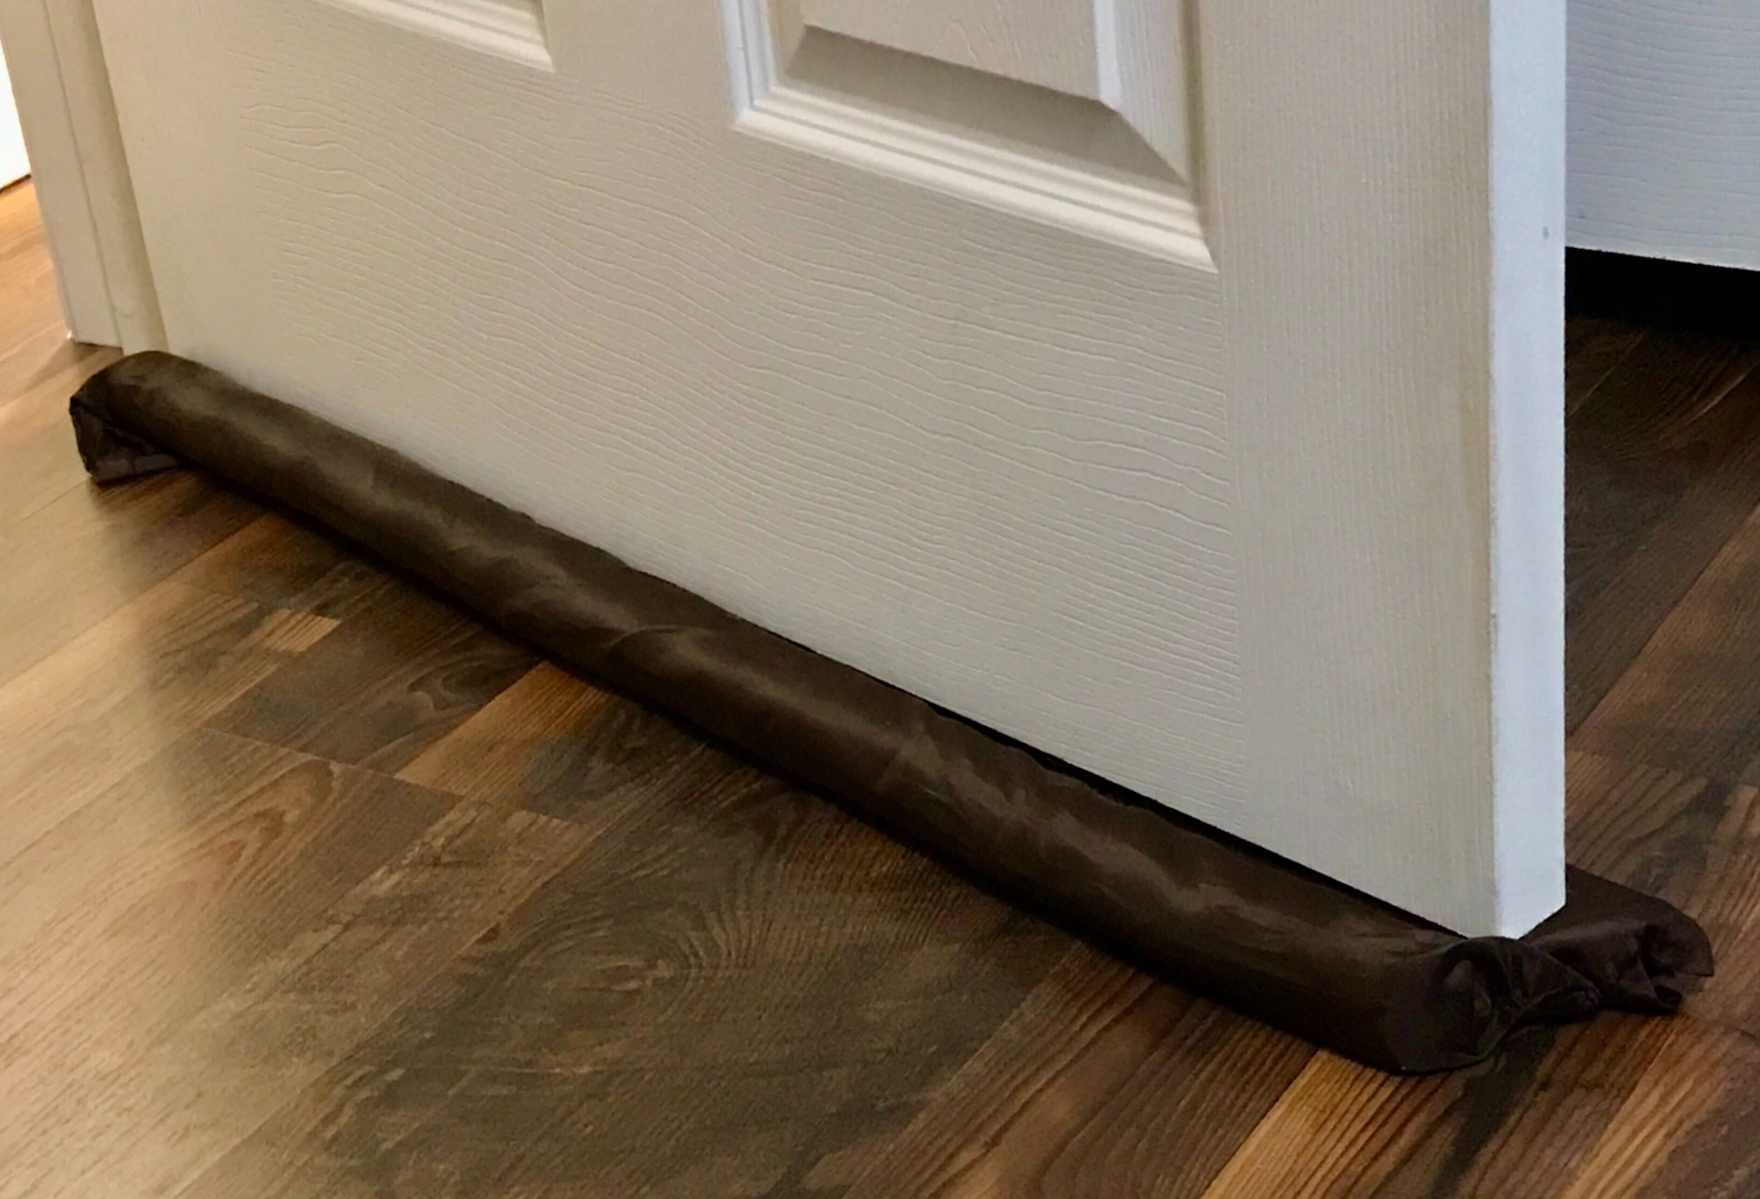
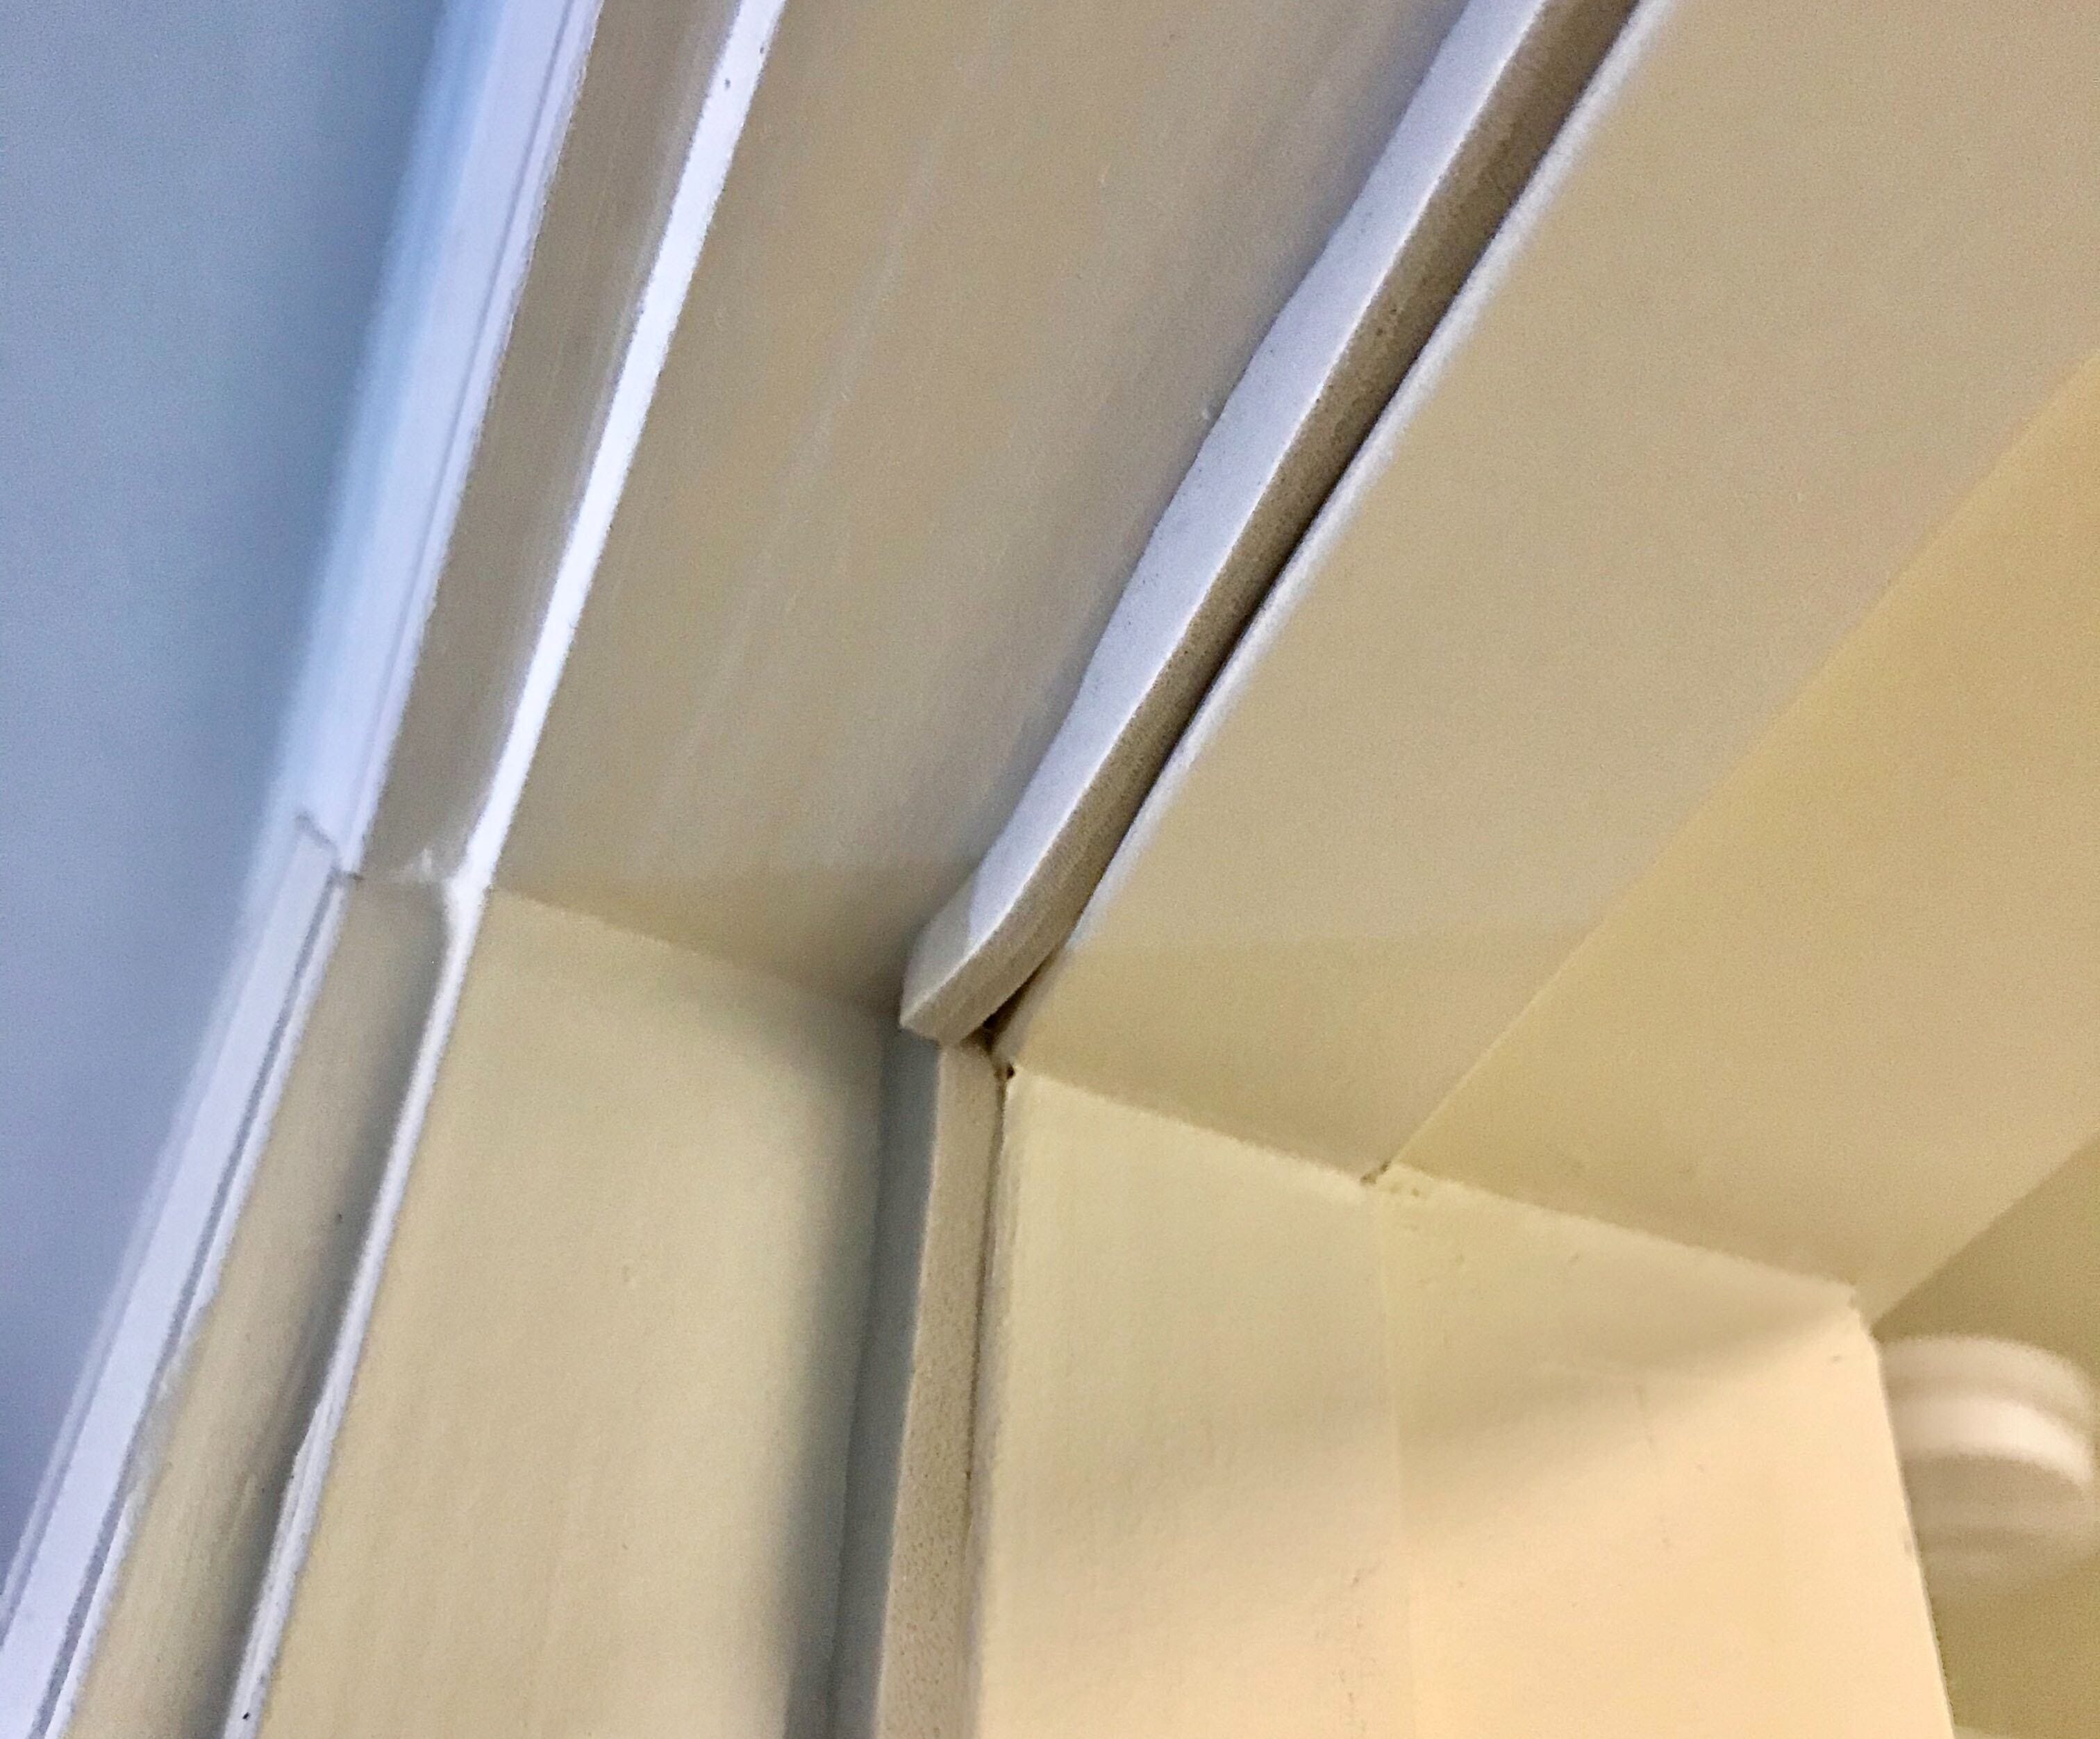
After you've handled your vocal cone, consider using dampening to stop outside, and distracting noises. I personally have panels along my office window, and a draft stopper + insulation on my office door.
On the "less ugly" noise dampening front, curtains, rugs, art canvases, and fiber wall paneling are all great ways visually improve yet dampen your echoing rooms.
All of these helpers are easily findable on websites, but just like any room, getting the right combination of looks + use is a bit of a personal journey.
3. Software Noise Removal
Removing noise via high-pass/low-pass filters, in post is nothing new, and we've already discussed how microphones can focus on your voice over all background noises. However, we're in an amazing time where noise cancellation is getting built into AI real-time noise reduction.
As of the time of this writing there are two impressive noise cancelling software packages available.
Option 1: Krisp.ai
Using some extra software processing you can speak and remove crying babies, loud hums, and random background chatter from yourself, AND even from others!
The pricing is pretty good. Check into here: https://krisp.ai/pricing/
Option 2: NVIDIA RTX Voice
This is the latest competitor with a WILD demo I saw on Twitch. Get ready to have your mind blown.
If you have an NVIDIA graphics card, this might be the coolest and most fiscal option to get your setup rocking. This is pretty new, so the on-boarding is a bit rough. I'm not sure how it compares to Krsip.ai, but from that demo, it's quite exciting!
Here's the Setup Guide
Summing it all up
It's about communication.
Don't find yourself in a panel or virtual conference where your audio is noticeably the worst. Be a good presenter, podcast guest, and communicator. With some time and organization, you can raise your the bar significantly.
Only a few years ago, I had no clue how to improve my audio setup, and now I'm happily one of the most crisp audio inputs for any meeting. SOUNDS good? Let's rock this whole remote thing!

Gant Laborde is a co-owner and Chief Innovation Officer at Infinite Red, published author, adjunct professor, worldwide public speaker, and mad scientist in training. He's a GDE in Web and ML. Follow, tweet or visit him at a conference.
Have a Minute? Read These!
suttonthaniorefore.blogspot.com
Source: https://medium.com/google-developer-experts/improve-your-virtual-setup-sound-eee8c22036fc
0 Response to "How to Connect a Blue Yeti to a Yamaha Ag03 Mixer"
Post a Comment